Pup Scouts Kitchen: Fall Treats Recipe

So I must admit, I’m no chef! But I’ve always loved to bake and thought it would be fun to bake some treats for my 5 year old pup, Kai. Turns out, Kai, absolutely loves pumpkin! When he was little, I gave him pumpkin puree a lot because he had frequent tummy episodes and I after sifting through the internet, I found out that pumpkin would really help his upset stomach. So as Kai as my inspiration and with Thanksgiving right around the corner, I thought it was the perfect opportunity to make pumpkin inspired treats!
You’ll find a lot of pumpkin DIY dog treats, but what makes this one different is it doesn’t require a cookie cutter, rolling pin, or any other fancy baking supplies. You will only have to use 5 ingredients and I made it so you can have some free range with experimenting with treat shapes.
I know we all see the picture perfect treats online but to me, at home baking should involve creativity, experimentation and no need for perfection. After all, these treats are for your pup and frankly… they don’t care what it looks like, just as long as it tastes good! So my encouragement to you is to not strive for perfection with these but find what works for your dog’s size and what they personally like.
Before I get started, I also wanted to mention this disclaimer that I am not a Veterinarian, just a dog lover like you. While I have done research to know what pup safe ingredients can go into this recipe, always do your own research or ask your Vet if this recipe would be suitable for your own dog. Use your instinct as a dog parent and if you’re not sure if any ingredient of this recipe is suitable for your pup, get creative and substitute it for something you know they love and is safe for them!
Okay, so now that I have that out of the way, let’s get to it!
Ingredients
Prep Time: 5 minutes
Cook Time: 20-40 minutes
*For this recipe, you will need:
– 1 cup of pumpkin puree
– 2 eggs
– 1/3 cup natural peanut butter (check the ingredients and find the peanut butter that is made from natural peanuts and nothing else added).
– 2 cups of whole wheat flour (you can use all purpose flour instead)
– 1/2 tsp cinnamon (find the spice that is straight up cinnamon and stay away from anything with nutmeg as it can be toxic to some dogs)
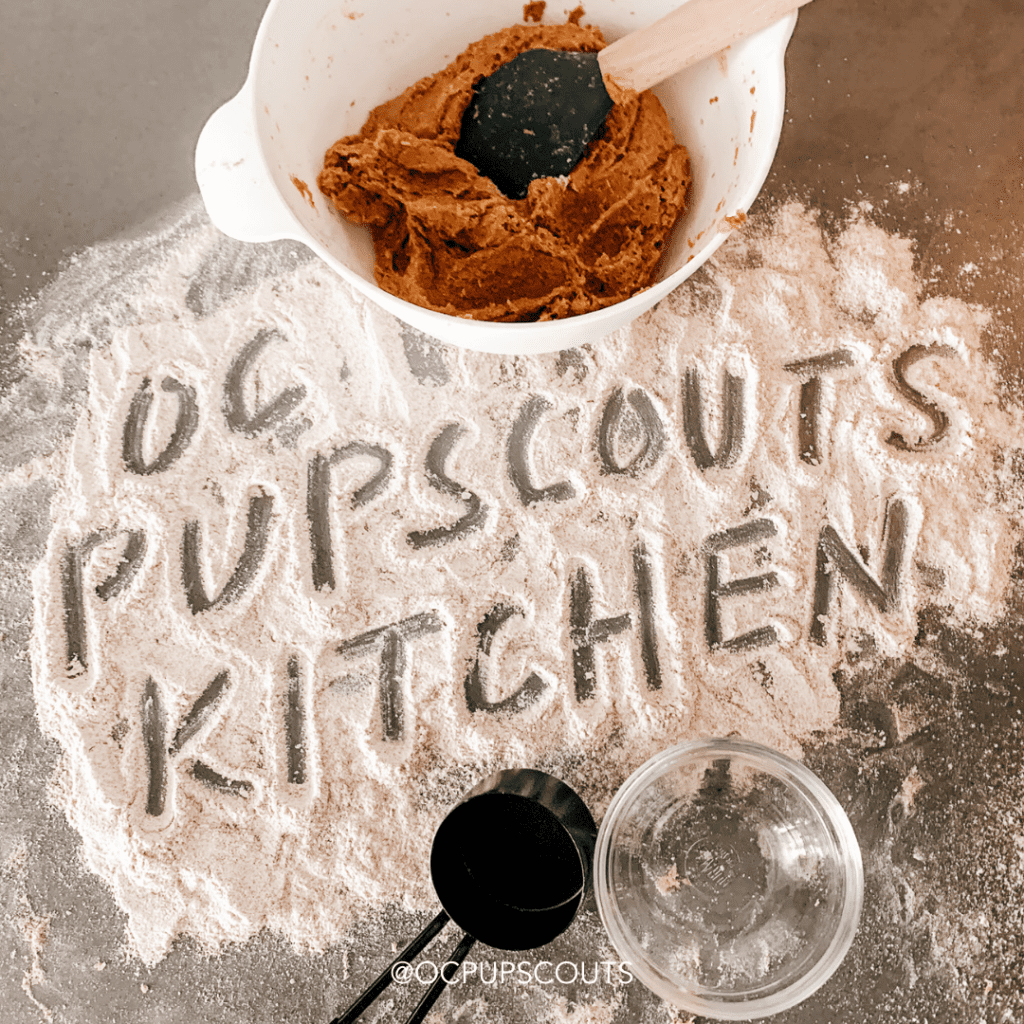
I purchased all of my ingredients from Target just to make things super easy, affordable and simple.
Instructions
- Preheat oven to 350 F. Get out your large baking sheet and line it with parchment paper (or anything that won’t stick to your treats)
- In a large bowl, add pumpkin, eggs and peanut butter and stir until completely combined.
- Add in flour and cinnamon and stir until combined completely.
- Flour a flat surface (I used my cleaned countertop) and grab a palm full of dough. Use flour as needed to keep your dough from sticking to your hands or the surface.
- Make shapes with your dough (***see below for shaping instructions) and place on prepared baking sheet.
- Bake for 20-40 minutes, depending on how crunchy your dog likes their treats. I did 30 minutes and Kai seemed happy with those!
- Remove treats from oven and let cool.
- (Optional) Drizzle lightly with peanut butter and let rest until drizzle is dry. If you are storing these, I would recommend keeping them drizzle free, just so they don’t stick together. I stored these with a drizzle and noticed they stuck together slightly, so it’s really up to what you prefer.
It’s recommended to store in an airtight container for up to 1 month in the fridge or 6 months in the freezer. But if your dog is like mine, these won’t last that long!
SLIDE TO SEE VISUAL STEPS
Previous
Next
Shaping Instructions
***To cut out your shapes, if you have cookie cutters, cool! Use those if you want to prep these quickly. But if you’re like me and don’t have any, I’m going to show you how to make a bone and a few other shapes.
This is definitely where you have the opportunity to get creative! I went ahead and made a few picture tutorials of different shapes that you can mold your treats into. Obviously the dog bone is a great go to, but my dog actually loved the little bite size squares best!
I would recommend creating a variety of shapes and sizes, that way you have options when treating your dog (rather than giving them a huge bone every time).
SLIDE TO SEE SHAPE INSPIRATION
Previous
Next
Most Importantly…
Remember to make homemade fun and don’t feel the need to be perfect! These are for your dog and trust me when I say they will love them no matter what your treats end up looking like!
Get creative and if you tried this recipe, tag us @ocpupscouts or let us know in the comments below! If you have any questions or would like to see other recipes using specific ingredients in the future, let us know!
HAPPY BAKING,
From the OC Pup Scouts Kitchen

Pup Scouts Kitchen: Fall Treats Recipe
continue reading
The perfect recipe for baking pumpkin & peanut butter treats with only 5 ingredients!
")

")